

DalgonaMaster has two moments where you stop a bar with your finger: the lid coming down to press, and the shape mold coming down to stamp. Both end with the same button, “Stop pressing”, and where you stop decides how thick the candy is and how deep the line is, which follows you all the way through the tearing. Here are the DalgonaMaster stop pressing numbers in one place. Every value is read from the source; only the “time in green” figures are calculated (zone width times bar length).
| Bar | Time to fill | Green zone | Time in green | Red starts | Chance of a crack |
|---|---|---|---|---|---|
| Press | 2.6 s | 0.45 to 0.62 | about 0.44 s | 0.8 | none |
| Stamp | 1.6 s | 0.45 to 0.65 | about 0.32 s | 0.8 | 10% from 0.75, 90% at the end |
The 0.32 seconds in the title is the bottom-right cell: the green of the stamp bar. A blink usually lasts 0.1 to 0.4 seconds (general knowledge, not from the game), so a shaky finger in front of this bar is no surprise. The rest of this post unpacks the numbers through two short scenes.
Values like 0.45 and 0.62 never appear on screen. They are positions on the bar: 0 when it is empty, 1 when it is full. Green starts a little before the halfway point, and the chance of a crack starts around three quarters of the way across.
Press: a relaxed bar, and still only 0.44 seconds
Both scenes below are imagined. The numbers and on-screen text come from the game; the nervous “me” is a character I made up.
“I” have just finished pouring. The batter sits round on the iron plate and the lid handle lowers slowly from above. The screen says “Pressing it flat with the lid…” and under it “Tap ‘Stop pressing’ in the green”. The bar fills to the right.
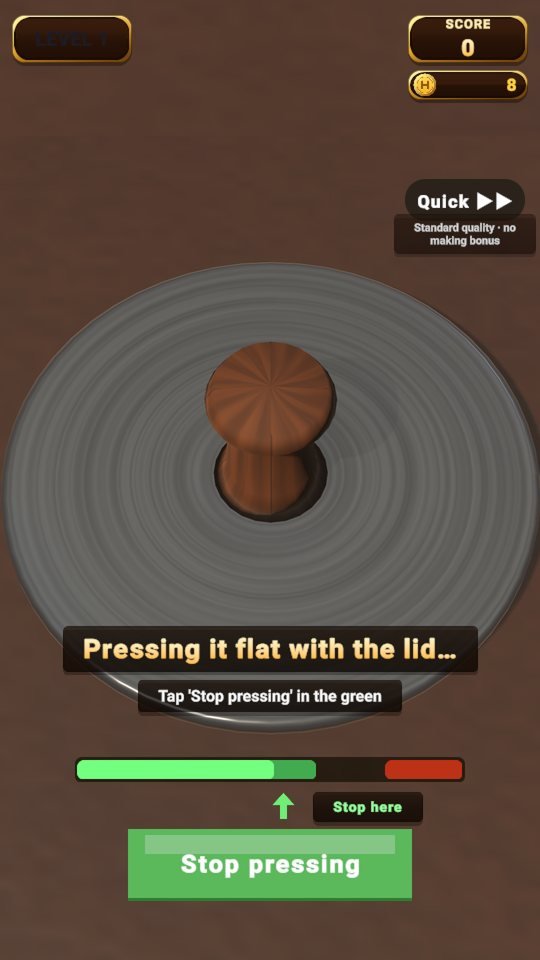 The press bar. The arrow under the green zone and the “Stop here” label point to where you should stop.
The press bar takes 2.6 seconds to fill. Green runs from 0.45 to 0.62, a width of 0.17, and times 2.6 seconds that is about 0.44 seconds. The bar enters green around 1.2 seconds in and leaves it around 1.6 seconds (calculated). That is barely a count of three, but nothing cracks at this stage. Miss it and the candy does not break; its thickness just changes.
The source says by how much. Stop early and you get a small, thick candy, up to 1.45 times thicker. Hold to the end and it comes out wide and thin, down to 0.7 times. The thickness multiplier is clamped between 0.72 and 1.42.
After you stop, a hint shows for 3.2 seconds. If the bar was far from full you see “Pressed too little — small and thick. It’s hard, so a piece may take a few pulls”; if you overshot, “Pressed too hard — wide and thin. Cracks may spread further than you pull”. That line is a forecast, not a punishment. It tells you how to tear this particular candy.
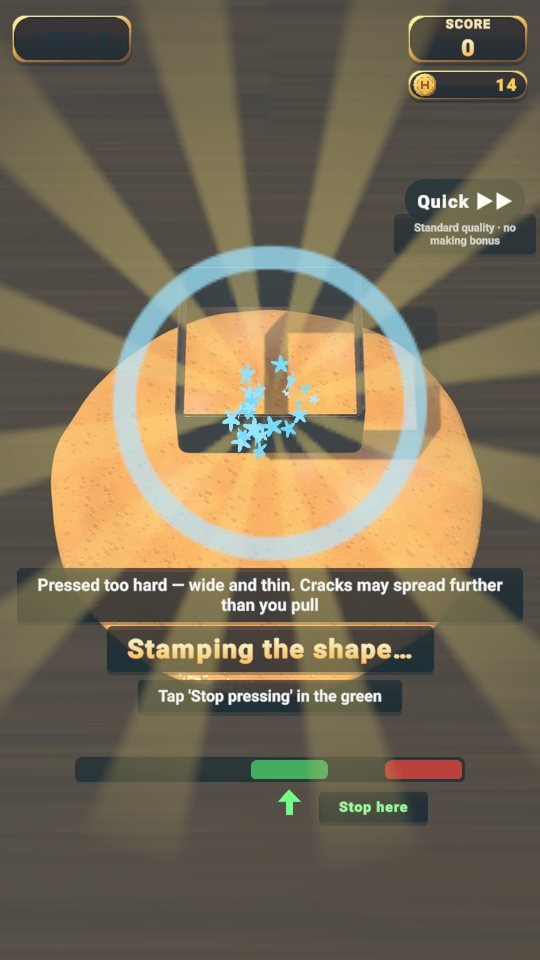 Right after stopping. The “Pressed too hard — wide and thin…” hint is on screen.
“I” missed green on the first bar. My hand was a beat late (imagined). But all the screen did was show one line, “Pressed too hard”, and the round went on. That was when I understood this bar is not the big test. The real one comes next.
Stamp: 0.32 seconds inside 1.6
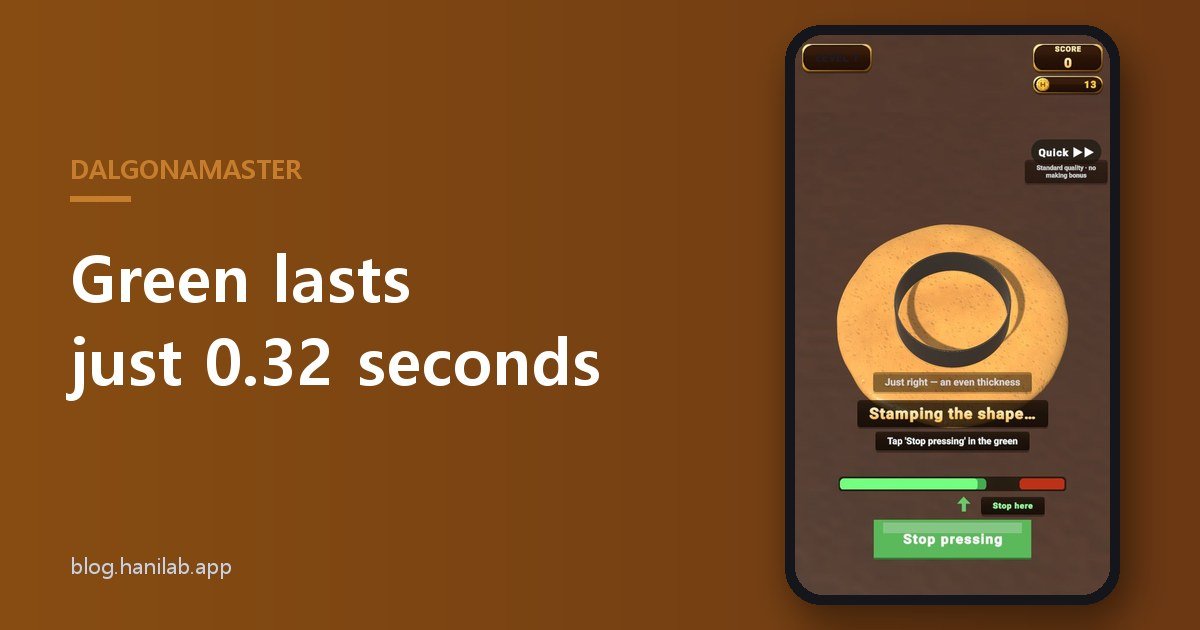
The shape mold comes down onto the candy. The screen reads “Stamping the shape…”. This bar fills in 1.6 seconds, 1.6 times faster than the press bar. Green runs from 0.45 to 0.65, a width of 0.2, and times 1.6 seconds that gives about 0.32 seconds. The bar enters green around 0.72 seconds and leaves around 1.04 seconds (calculated).
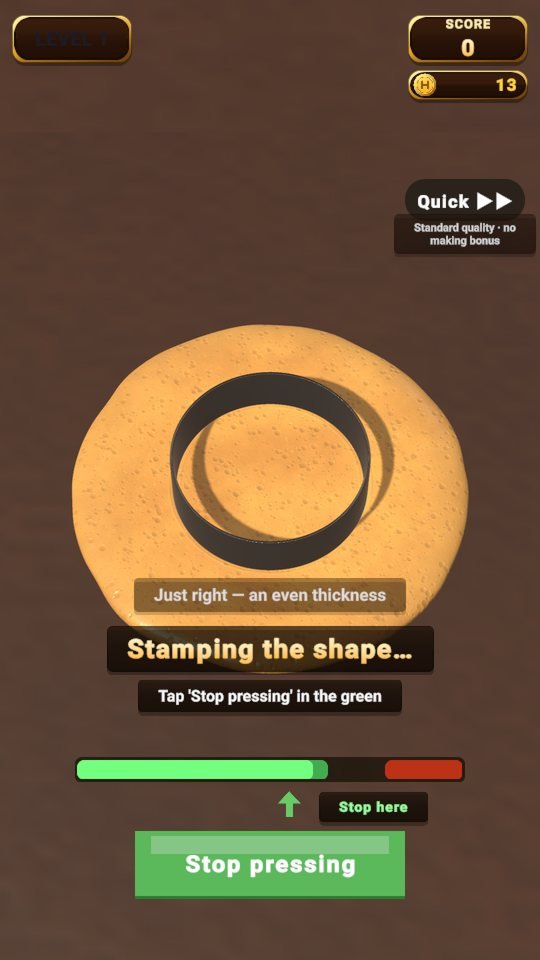 The stamp bar with the bar near green. A hint beginning “Just right — an even thickness” is still on screen from the press.
Stamping is harder than pressing because two more numbers are in play. The first is depth. Line depth is the bar position divided by 0.55, so stopping at 0.55, the middle of green, gives a perfect depth of 1.0. Stamp too lightly and you get “Stamped too lightly — the line is faint. Cracks may run past it”. Stamp too deep and you get “Stamped too deep — the line is thin and weak. Be gentle near it”. Either way, it is a warning about that line when you tear.
The second is the crack. If you stop with the bar past 0.75, the candy can crack, and the chance starts at 10% at 0.75 and rises in a straight line to 90% when the bar is full. That works out to about 26% at 0.8, 42% at 0.85 and 58% at 0.9 (calculated). Red starts at 0.8, so the risk of a crack arrives before red even does.
| Where the bar stops | What follows |
|---|---|
| Before 0.45 | The line is faint, and cracks do not stop at it when you tear. |
| 0.45 to 0.65 (green) | Good. The middle, 0.55, is best. |
| 0.65 to 0.75 | A little deep. No crack worries yet. |
| 0.75 to 0.8 | Short vibrations and ticks begin. About a 10% chance of a crack. |
| After 0.8 (red) | Danger zone. The chance heads toward 90% at the end. |
The second row of that table is the useful one. From the end of green at 0.65 to the start of cracks at 0.75 there is 0.1 of slack, which is 0.16 seconds. Press a little late and it will not shatter right away. Once the bar passes 0.75, a short vibration and tick come every 0.18 seconds (sound and vibration are off-screen details), and that is your last warning.
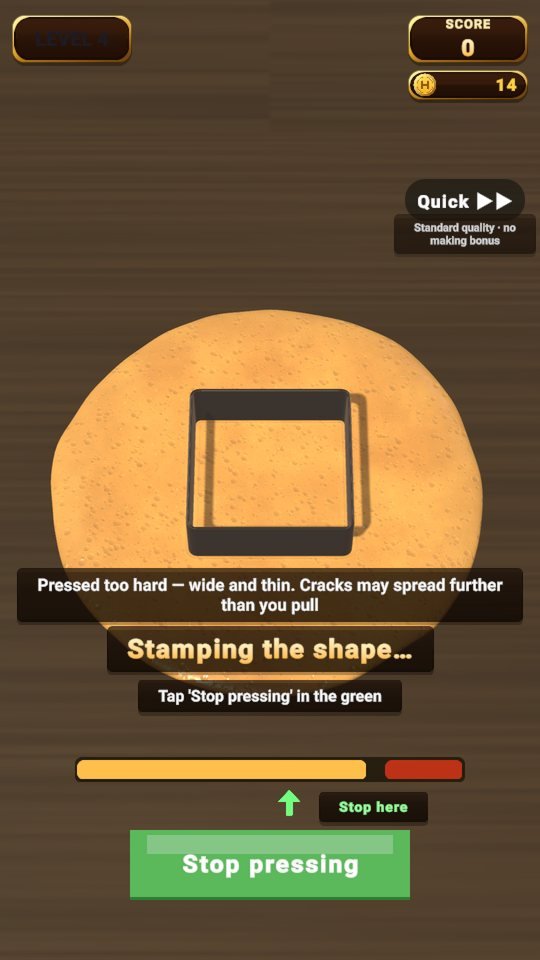 The bar has almost reached red. Red starts at 0.8.
In front of the second bar, “my” finger shook. The bar slid past green and I panicked, only pressing as red came close (imagined). It was past 0.75, so the chance of a crack was at least 10%. The screen shows one “Stop pressing” button and no percentage. The only thing you see is the color of the bar.
A cracked candy loses on the spot
Let the bar run all the way and the candy splits. The screen shows “Stamped too hard — it cracked”. A cracked candy skips the setting step and goes straight to the tearing screen, where, according to the source, it simply loses. No undo button appears in this case either.
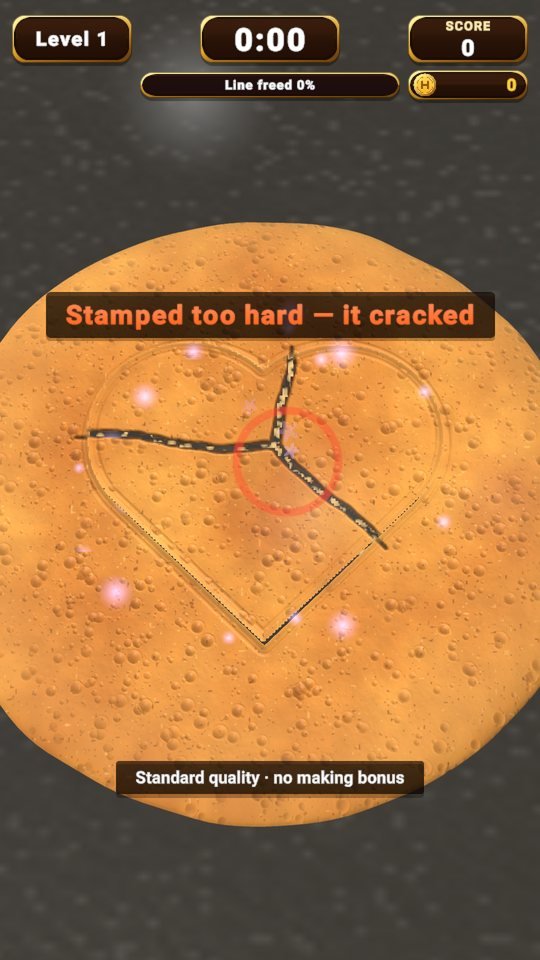 A stamp crack. A red ring marks the split and “Stamped too hard — it cracked” sits above.
Why so harsh? Stamping is the last hands-on step of making. The soda and pouring before it make the batter, and pressing is about thickness. Stamping is where the line appears, and that line becomes your map for tearing. If the line splits, the map is gone, so it makes sense that no way back is offered. The source comments do not give a reason, so this is my own reading.
You can watch it in motion too: the mold comes down, and the bar fills until it stops.
 Stamping, 2.8 seconds. The bar at the bottom fills and stops.
Again, with a hand that knows the numbers
“I” opened a new round (imagined). This time I count beats instead of watching the bar. Press takes 2.6 seconds, so I count one, two, and tap somewhere between 1.2 and 1.6 seconds, a bit before “three”. Stamp takes 1.6 seconds, so the tap belongs between 0.7 and 1 second. The screen already says “Tap ‘Stop pressing’ in the green”, and that line works as the beat sheet. Missing green only costs you thickness or a fainter line; the real fear is on the red side.
Side by side, the two bars have different characters. Press takes a full 2.6 seconds, so the road to green is long, and its 0.44 seconds in green is the roomier of the two. The catch is that once it passes, you cannot take it back. Stamp is over in 1.6 seconds, green lasts only 0.32 seconds, and the crack threshold sits right behind it. On the slow bar you can wait for green with your eyes; on the fast one your hand has to be ready before green arrives. It is the same “Stop pressing” button, but it feels different under the thumb.
The two bars are scored separately, too. Press and stamp each count for 0.15 of the quality score, and the farther you are from the middle of green, the more you lose. Being anywhere in green is not automatically full marks. The score never shows as a number, though, and after a win you only see one line on a banner, so how well you did is something you feel while tearing. That is why the hint lines matter. “Just right” means tearing will be easier, while “Pressed too little” or “Pressed too hard” tells you what to be careful about.
Press is relaxed but leaves its mark as thickness; stamp is fast and leaves its mark as line and cracks. Both carry the same 0.15 share of the score, and both lose points the farther you are from the middle of green (the quality formula). Aim for the center of green, but on the stamp bar, make sure you do not spill over toward red first.
That covers the numbers of “Stop pressing”. The bar is not a figure to memorize but a beat to learn. You will miss a few at first, and the hint line tells you where. Reading that one line is the quickest guide there is.
The “I” and the two scenes in this post are invented to explain the numbers. The numbers and on-screen text come from the game source and real screens. DalgonaMaster is not released yet.
Play DalgonaMaster now
Playing it is much faster than reading about it.
Find the other Master Series games all in one place at hanilab.app.
More from this game
 ‘Just One Take-Back, Please’: Asking the Dalgona Vendor About Undo, Continue and Retry in DalgonaMaster
 Ten Squares of the Shape Book: DalgonaMaster Levels 1-10 Play Diary
 Today’s Stall Price Board: How DalgonaMaster H Coins Come In and Go Out
 Use a Tool, Lose Points? DalgonaMaster’s Six Tools and a Don’t-Use-It-When List
🌌 Universe stories
 Roddy Universe, Part 2 — Fallen Down, Only One Step Back at the Roadside
 Roddy Universe, Part 1 — One Beat Before Crossing, the Empty Road Between the Cars
 Bombi Universe, Part 2 — Behind You: The Reaper That Walks Through Walls
Try other games
 FindMaster
 LottoMaster
 TakMaster